 Create email teach you how to create email without phone number
Create an iCloud email account for free in 2021. Cloud storage is defined by a large storage area where individuals may upload data to be saved without concern of losing it, and businesses can construct programs on it, which is known as cloud computing. The well-known iCloud service is one of the most well-known providers of cloud storage.
Data, files, and any form of information can be preserved through this distinguished service. In this article, we will learn how to create an iCloud email, how it is used, and how it works.
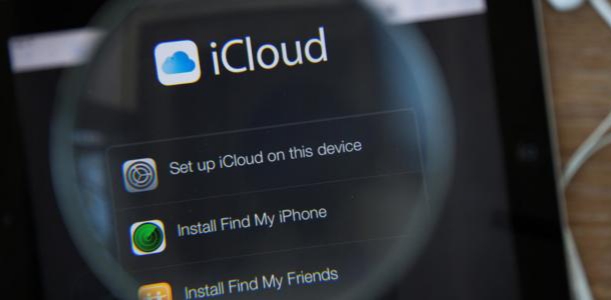
What is iCloud?

It is simply one of the cloud storage services provided by Apple for its various devices, covering various areas such as email, calendar and contact syncing, multiple photos and files, and the location of lost devices.
The goal of cloud services in general, and iCloud specifically, is to store information on a remote computer, known as a cloud server, and this means that you can store your data without occupying storage space on any particular device, and you can access your data from any Internet-connected device.
After creating an iCloud email, you will get a storage space that enables you to safely store your photos, videos, music, documents, apps, and other files, and keep them updated on all devices associated with the same Apple ID. This means that it allows you to easily share your photos, locations, and calendar with friends and family, and helps find lost devices when they are lost.
After you set up iCloud on your Mac or iOS device, your iCloud account is signed in on your devices and other devices that use the same Apple ID. Thus, when you make any change to a device, the change you make will appear on the other connected devices. For example, if you create a new music or photo album on your iOS device, the album will automatically appear under iCloud on Windows and Mac browsers and iOS devices linked to the same account.
Create a Gmail account without a phone number
How is an iCloud email created?

Before you can use iCloud on your iPhone, you need to create an iCloud account, which is linked to an Apple ID that you probably already have. You can turn on iCloud when you first set up your iPhone or use Settings to sign up with your Apple ID. To create an iCloud email, follow these steps:
Open device settings.
- Open your iPhone settings and then click on “Sign in to your iPhone” at the top of the Settings menu.
- If you are already signed in to your Apple ID and want to create a new account, click on your Apple ID and then “Sign Out” at the bottom of the Apple ID list.
- If you are using an older version of iOS, you have to click on “iCloud” and then click on “Create a new Apple ID”
- Click on the “Don’t have an Apple ID or forgot it” icon to create a new iCloud email.
- Create an Apple ID by clicking on “Create Apple ID.”
- Enter your date of birth and then click Next. You can select your birthday simply by swiping up or down over the day, month and year fields.
- Type your first and last name, and then go to the next.
- After that, a new window appears containing the option to obtain a free email address, by clicking on “Get a free iCloud email address” and then entering the new email address and clicking on Next, then “Continue”. To use a pre-existing iCloud email address, click on “Use your current email,” enter the email address, and click Next. Thus, you have created an Apple ID account on iCloud, and then go to the next option and then click on it.
- Type the password, which then click Next, taking into account the following details, as it must:
- It must be at least 8 characters long
- It must contain at least one capital letter.
- It must contain at least one number
- It must contain a lowercase letter as a minimum.

- Write your phone number and specify the country of residence, as well as the mechanism for verifying the number, whether by a phone call or a text message, then click Next.
- Confirm the account with your phone number. You can choose to verify using a text message, where a message is sent to the entered number containing the 6-digit verification code. While you choose to verify using a phone call, you will be automatically contacted with a 6-digit verification code.
- You may be asked to write and answer 3 security questions for your account, in order to be able to return to the account while the password has been forgotten, and then click on the Next option.
- Agree to the terms and conditions, after reviewing them, by clicking on “Agree”.
- Enter the password for your device, and you will be automatically logged into your new account.
- After creating an iCloud email, if you want to merge the calendar, contacts, data, and notes stored on your device with your new iCloud account, you can simply click on “Merge.” While you don’t want to merge them, click Don’t Merge.
- Click on “iCloud” on the Apple ID page in the device settings.
Thus, your account on iCloud has been successfully created. When you go to Settings and then go to the iCloud icon, you will find that the account has been activated on your iPhone automatically. Therefore, you can use the account in the App Store on the iPhone. All you have to do is enter your address and payment method.
Here we have come to the end of the article, hoping that we have provided you with everything you need to create an iCloud email.
Free. We wish you a great experience.